So you purchased a new sewing machine and you’re ecstatic, but you have one major question: how to operate a sewing machine! You are not alone, and it is not difficult.
To people like us who don’t understand how to use sewing machines, they can appear frighteningly complex. However, don’t let your apprehension about a new machine and skill set prevent you from producing glorious textile wonders!
Who’s up for some helpful sewing tips and techniques? We’ve compiled our top five sewing tips.
Let us begin!
Top 5 Tips For Sewing Machine

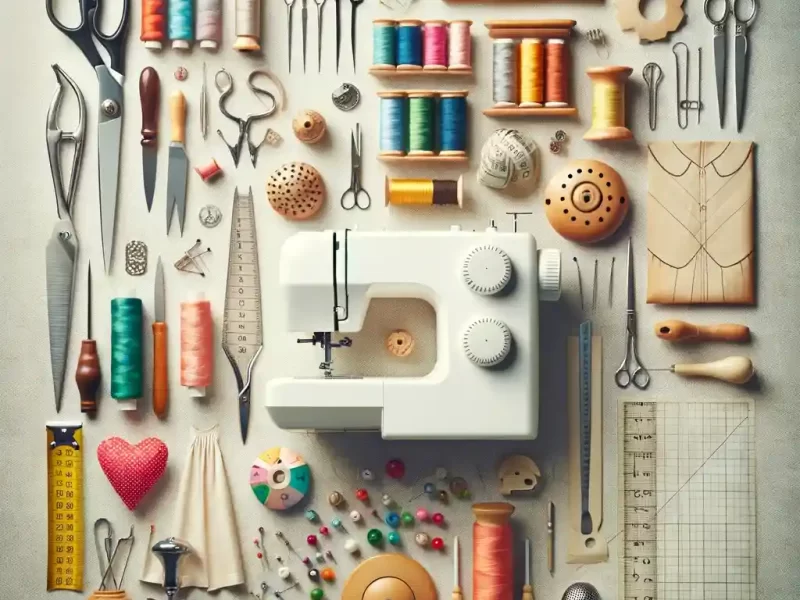
1) Select The Appropriate Machine/Threads
If you still need to purchase one, there are sewing machines better suited to beginners available. I’m not going to go into depth about the benefits of those designs here, but I strongly encourage you to read a few of the product details to get a general impression.
Two threads are used by a sewing machine. To prevent uneven tension, jams, and breakages, use the exact type of thread, a relatively similar material, and the same thickness on the top and bottom.
Starting each project with an unoccupied bobbin and filling it from the spool is the simplest way to match threads. If you frequently use the same spool, fill numerous bobbins at once in order to avoid having to re-thread your machine. Just make sure you remember where they came from! Each bobbin should be labeled or stored with its spool.
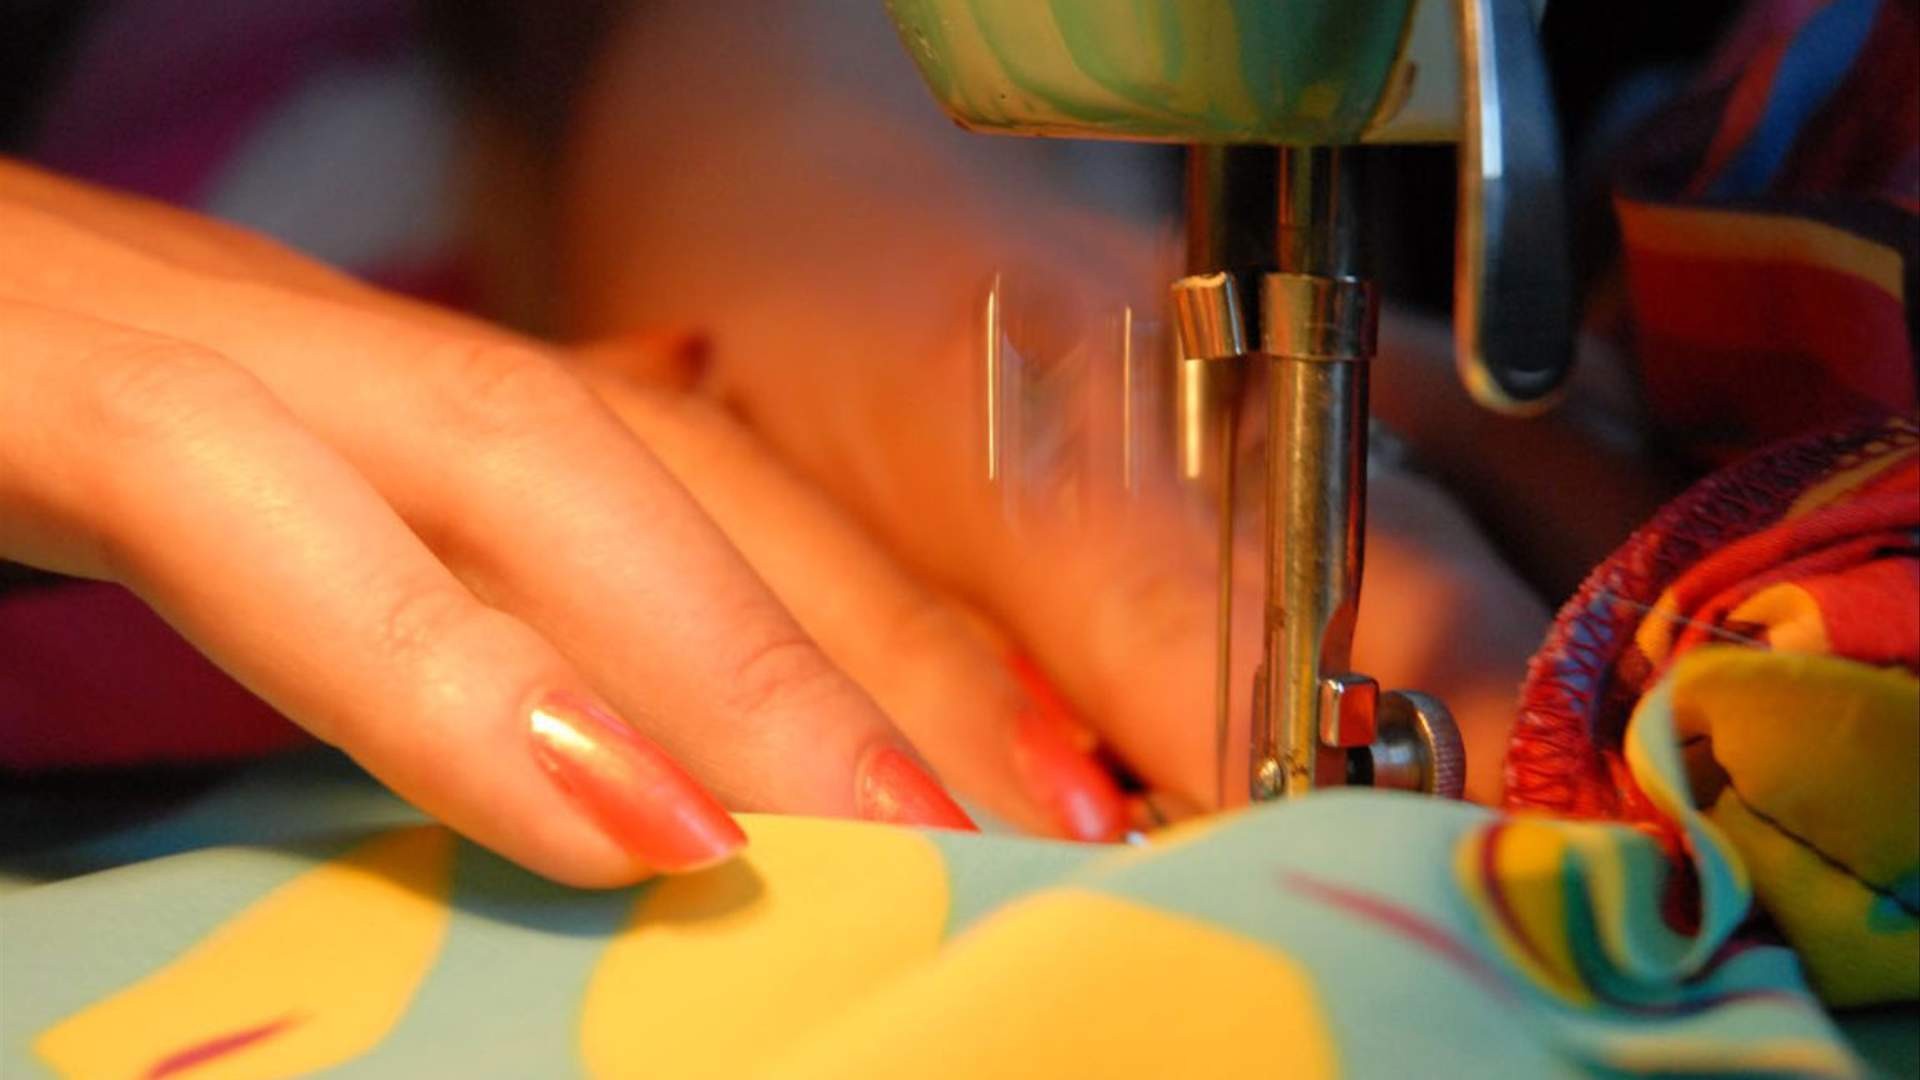
2) Maintain Straight Lines And Neat Curves.
If you haven’t used a sewing machine previously, this may appear difficult, but it’s indeed very simple, though you will need some practice.
To sew a straight line, align the margin of your fabric with one of the lines just on a needle plate and hold that position while stitching.
Begin slowly and gradually significantly raise your speed as you build confidence. Always concentrate on the alignment rather than the needle or the stitching. They move too quickly for your eyes to follow and prevent you from seeing the bigger picture.
Stitch gradually while rotating the fabric with both hands to create a smooth curve. If you can, do it in a steady, continuous motion; if you can’t, or if you have to make a sharp turn, always halt with the needle down into the fabric. This enables you to maneuver the fabric around the last stitch, resulting in a neat curve.
Before you start stitching, the thread strands are loose. This can cause them to become entangled in the mechanism of the machine and even pry the fabric in along with them, especially light thin fabrics.
Always hold the thread tails with your left hand while making the first stitch to prevent this mess and possibly having to cut a hole in your fabric to fix it.
Before sewing, flatten your fabrics. By straightening the fabric before sewing, you can avoid the twisted stitches that result from stitching scrunched-up fabric. Plainly use your hands to ease out all the lines, including the neat folding ones, or iron them if necessary.
It takes a little extra work at first, but it will simplify your life in the long run.
3) Practice More
Keep practicing, and isn’t that what you want for your work?
I understand how tempting it is to dive right into it and get started. However, keep in mind that each fabric, thread, and stitch has unique properties. Various threads involve tensions; thin fabric can be delicate, whereas thick fabric necessitates a thick, strong needle; stitches arrive in various shapes and sizes; and so on.
You can make changes without ruining your work by practicing on a scrap of fabric for a few minutes. Obviously, you must recreate the circumstances of your project so that this will make sense. So, for your test and your project, use the exact fabric and the same number of layers, thread, and machine configuration.
To get a feel for it, complete beginners can practice on printed paper first. There are numerous free patterns, lines, curves, and even drawings available online which you can print at your residence and practice with.
4) Don’t Be Lazy.
Clean your machine on a regular basis. When you sew, fluff gets stuck in the mechanism. It may have an impact on the performance of your machine. Even though you do not often feel it and the constant noise, which you should be aware of, you should clean your ears as well.
It’s also a good idea to wrap your machine to prevent it from dusting. Most machines come with a slipcover or case, however, if you don’t, they’re simple to make!
Good maintenance may also save you a trip to the mechanic.
5) Maintain Ideal Sewing Conditions
You’d be surprised how many mechanical issues can be resolved by dusting the machine, re-threading it, or attempting to change the needle.
I’ve already talked about cleanliness.
Another useful maintenance procedure is re-threading. Try re-threading everything if you can’t manage to get the tension correct, if somehow the thread keeps jamming or breaking, or if anything feels glitchy like spool and bobbin. This will usually solve your problem.
When it comes to needles, make sure to use the correct one for every project. Universal needles are useful in many situations, but they are not always the best option. They will not perform as effectively on very thin or thick fabrics as thinner/thicker needles. Jeans, for example, are an everyday item, but they involve more than just a regular needle!
Needles can also quickly become blunted or bent. This can result in thread jams or, worse, the needle collapsing into the needle plate rather than passing through and breaking. It should be changed on a regular basis to ensure better, safer stitching.
Check that you have sufficient thread. Examine the condition of your bobbin before beginning a new task or a major part of an existing project.
Make absolutely sure there would be enough thread on it so you don’t run out in the center of a neat seam or difficult stitch.
If the bobbin is practically empty, it is preferable to change it at the start rather than deal with it later.
Conclusion

Being able to operate a sewing machine is similar to driving a car (well, not quite, but bear with me) in that you must be smooth with the gas pedal.
If you unexpectedly push it all the way down, you run the risk of losing control of your stitching. Slow down for precise maneuvering. Maintain a reasonable pace of practice.
Many computerized machines have a speed control button that lets you set a maximum speed. It’s ideal for beginners or those with sensitive pedals.
Another option is to sew with bare feet or socks on, or simply remove your shoes. The increased sensitivity aids in pedal control.
So remember these tips and you’ll be fine.

I love sewing, I am sewing for the last 15 years and started this blog with the help of my niece to spread sewing-related guides all over the world.
Sewing could be a full-time profession or hobby, and I wish to make a change by adding more people to the sewing world.