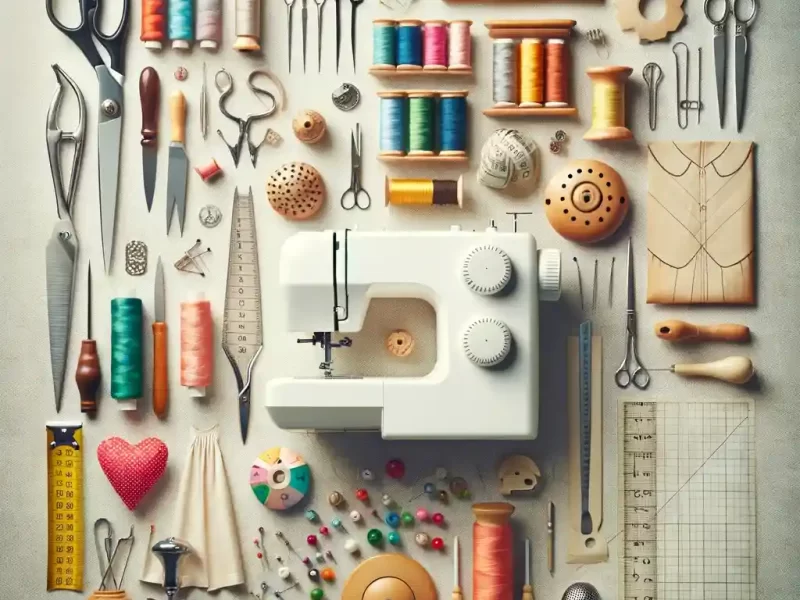
A wonderful way to unleash your creativity and inventiveness is through sewing! Drawing your desired ideas and displaying them to the world is a joy to get when you sew and design! More intriguingly, you can easily transform this side interest of yours into a bankable one. This is a skill that you can learn at any time in your life!
Sewing is always a realistic alternative if you’ve always worked with thread and a needle or if you’re looking for a new small business idea that can bring in a little additional money. Once you get started in this sector, your skill can develop steadily!
Whatever the reason may be or whatever the business you are running, you are constantly looking for techniques to sew more quickly! Large to moderate enterprises require widespread manufacturing, so you must train your employees how to sew more quickly and produce more goods!
Even a one-man operation with a limited clientele needs speedier production! Therefore, at every level, the work must be completed more quickly and efficiently. You can use a few effective strategies to accomplish your deadlines earlier than normal!
Why Do You Need to Press the Sewing Project:
Pressing as you stitch ensures that each seam is perfectly flat before being crossed by another seam. What happens if you don’t complete this step?
No matter how much time you spend pressing it after the fact, the intersecting seam may not sit properly and you’re likely to wind up with a bulking, clenching node. So here’s a list of benefits you get when you press the piece of cloth correctly:
- You can get a flat and seamless-looking product.
- The creases in the cloth make it look old and lackluster. But once you do the pressing, those go away.
- The stitches get pressed well in the cloth.
- The blended stitches give the desired shape.
- Looks more professional!
These are the benefits you get once you complete this small step!
Here are 5 simplest tricks that you may apply to get better and faster results. These have been beneficial to the experts in this field and highly recommended by them!
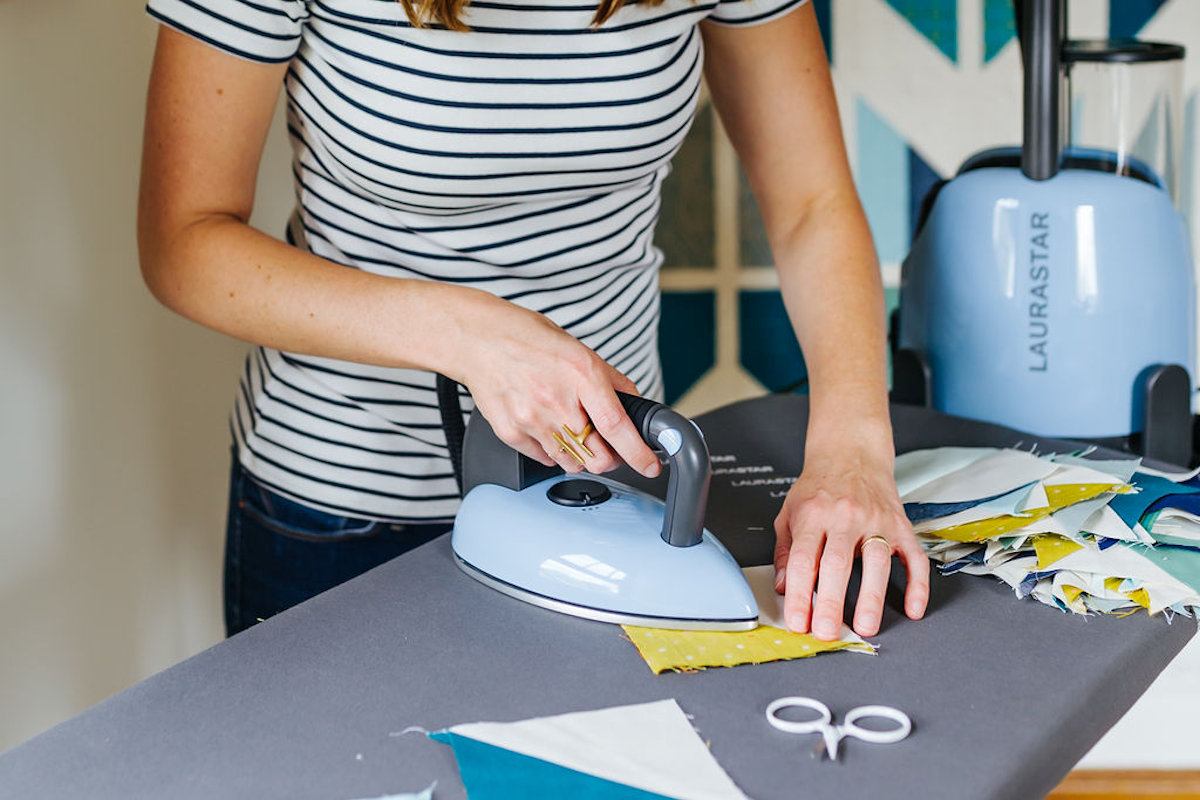
1. Using A Good Quality Iron:
A good quality iron is mandatory. If the iron doesn’t give quality service it’s possible that your existing iron is starting to have issues. It would be wise to replace and upgrade the product. It takes a lot of effort to use such an iron, especially if you have a lot of clothes to iron. The correct iron can make this task effortless and simple.
The resulting quality also enhances a lot more. Today, a variety of irons are available in the market, from lightweight ones for home use to heavy-duty ones for laundromats and dressmakers. Portable irons are also available for travelers. Choosing the best iron according to your product is crucial because each type of iron has a unique set of properties.
A well-functioning iron will serve the best result as they come with advanced features to suit the clothes. You must go through the manual or guide to know the properties and functions of the iron. Once you get familiar with them, you can easily use them accordingly.
2. Knowing The Correct Pressing Technique:
Once you make a good purchase, you must get yourself familiarized with the techniques of the iron machine. Ironing is a tricky exercise and making mistakes can affect the piece of cloth. Every iron comes with a user manual and going through that resolves half of your queries. You can also watch tutorial videos on how to use the product.
Usually, anyone new to pressing will typically start by turning up the heat and beginning to move the iron back and forth across the fabric. But different types of clothes have different demands! You must follow them to get the desired result!
Instead of moving the iron from side to side when pressing, move it up and down. Lift the iron, firmly push it down onto the fabric, and hold it there for a short period of time. Lift the iron up and relocate it to the next area that needs pressing, then repeat the procedure until your seam is flawlessly flat. This is how you can meet your own expectations and give the cloth a new look!
3. Press The Dart Effectively!
The darts old shirts or any piece of garment is way tougher and trickier than the rest of the piece. One struggles to iron it perfectly. Very often, even after a lot of effort, you don’t get the result you wanted to see. To get the darts to lay flat and offer the lovely form they were designed for, pressing the darts well is crucial if your project uses them.
You must examine the garment. The placement of the dart should be indicated by your pattern; typically, horizontal darts should be pressed toward the hem and vertical darts should be pressed toward the center.
The fabric should curl up around the iron when you begin pressing the dart from the wrong side; as darts are supposed to be curved, pressing them flat will result in puckering, which we all know is very irritating to see. All you need to do is make sure the seam is sharp. Alternatively, you might put the dart on a tennis ball or pressed ham to keep its curve while you push.
4. Preparing The Ironing Space:
Why the ironing space is so important for better results? Because you must be cautious where you set the piece of cloth down, whether it’s a tabletop model or one that’s full size. Uneven tables could create unnecessary creases and folds. Make sure the iron cable is not hung across a sidewalk where a child or pet could pull it down. Investing in a well-built iron board is required! If you don’t have an ironing board, you can still iron by lining a flat, strong surface like a table or counter with a thick cotton towel or an ironing blanket.
Another way to protect the cloth is to take care of the garment after ironing. To keep your ironed garments looking freshly pressed, hang them as soon as possible.
Very often we scorch the cloth while pressing! Extra care must be taken to ensure no scorching is done! If you scorch clothing while ironing, act right away to fix the problem otherwise it would leave a permanent mark or entirely spoil the cloth. You can use laundry detergent, white vinegar or ammonia, hydrogen peroxide, or hydrogen bleach might be able to get rid of the burnt scars. Thus you can get protected clothes.
5. Pressing The Cloth Inside Out:
Iron on the garment’s backside when pressing most textiles. The heated machine sometimes takes the shine of the colors away! This tactic will stop the material from fading away. On materials with dark hues, as well as silk, rayon, linen, and acetates, this shine effect is most apparent.
Additionally, avoid ironing sequins, velvet, and clothes with screen prints because these materials might cause the prints to melt or drip on. Ironing on the wrong side avoids crushing and even gets rid of the texture in velvet, corduroy, and other textured textiles. Not only the color but the “puckering “or the bulkiness that takes away the glamour of the cloth or its texture will retain if the correct side of the fabric is ironed. To prevent stretching, iron the fabric lengthwise.
Conclusion:

These are a few ways you can adapt to your regular ironing schedule to get better results. The procedure could appear to be a little tedious and drawn out. But ironing is time well spent because it keeps your clothing in shape and new-looking for longer. Spraying water, starch, or sizing on your garments is an optional step that can help them seem crisp.
Here’s an overview of a few other things that you can keep in mind before ironing!
Never iron-soiled or stain-retained clothing. First, start by washing and completely drying your clothing properly to prevent wrinkles before ironing. Because the stain will probably be permanently etched into the cloth by the heat of the iron.
Before starting, read the care label on the clothing or linen before you begin. There will be written instructions for ironing because different fabrics require different techniques. You can also check the ironing temperature setting chart for various textiles if the label is missing.
Test the iron temperature before putting it on the cloth! An iron needs approximately 10 minutes to reach its maximum temperature. Using the overheated or underheated would cause problems!
If you experience fabric catching or seizing when running your iron over it, the iron is probably too hot. Pick up the iron right away. Reduce the heat setting, allow it to cool a little, or place a towel between the item and the iron as a barrier.
Sewing is fun and exciting. It helps you to create innovative designs. But you need to ensure that the clothes you make or bring at home remain intact! Avoid fading colors, creases, and dirt on the textile. Your precious designs or your clothes will be preserved forever if you follow these small steps. Be extra cautious and smart! They will retain their glance as a new one!

I love sewing, I am sewing for the last 15 years and started this blog with the help of my niece to spread sewing-related guides all over the world.
Sewing could be a full-time profession or hobby, and I wish to make a change by adding more people to the sewing world.