Purchasing a new sewing machine for your house might be thrilling. Regardless of your degree of sewing experience, learning how to use a new sewing machine can be intimidating and terrifying.
The first skill you need to master is how to thread a sewing machine, which is not something you should take lightly. Your new home sewing machine may have special stitching problems that require repair if you find it difficult to thread it, which could lead to wrinkled fabric or missing stitches.
But don’t worry. You will learn everything you need to know about threading your new home sewing machine in this article. In this article, I have mentioned the need to properly thread the sewing machine along with the steps to do the same.
All the steps are very basic and require minimal effort and utmost caution on your part. Also, I have mentioned some very important tips that will help you through the steps. The article also includes the various ways of keeping your sewing machine clean.
The instruction manual for your sewing machine is the finest resource for information. But since sewing machines are frequently passed down or purchased at yard sales, the instructions are frequently lost, so you’ll need to search online to locate your sewing machine handbook.
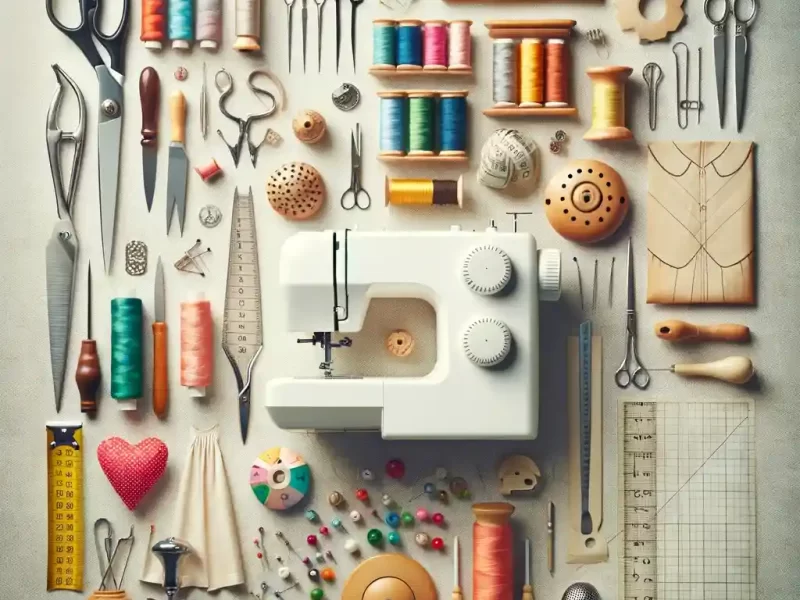
But most sewing machines share a similar appearance. The spool pins and bobbin winder are on the right side of the machine, and the tension disc is located near the take-up lever and tension wheel at the top left of the device.
The stitch selector is normally on the front lower right side of the machine, while the hand wheel is located on the far-left side.
Why Learn to Thread Properly

When using a sewing machine for the first time, threading the machine may appear intimidating and discourage you from sewing entirely.
However, once you understand how to thread your machine, you’ll discover that it becomes second nature and gets easier every time. To produce safe and appealing stitches, your sewing machine must be appropriately threaded.
A home sewing machine creates stitches by combining the thread from the needle with a second thread that comes from the bobbin, even though sewing machines vary in various sizes and models. It takes a little less than five minutes to thread a sewing machine.
Common Threading
Machine model to machine model will differ in how the top is threaded. It is best to consult your machine’s instruction manual for precise information regarding your particular machine. When threading your machine’s top, there are a few essential guidelines to bear in mind.
- A presser foot lifter should always be raised before beginning machine threading.
- Make that the thread is properly positioned in the machine’s take-up lever.
- To help prevent the thread from getting tangled up in any imperfections that may be present on the thread spool itself, use a spool cover.
An empty bobbin and a spool of thread are required to get started. Put the spool thread on a spool pin by taking it. Six strong turns of the thread around the bobbin.
The bobbin-winding pin must be moved to the right before it clicks into position. Securely tuck the thread’s spool end under the tension pin in the upper left corner.
By depressing the foot pedal, wind the bobbin. Cut the thread once the machine has stopped. - Use the spool cap that most nearly matches the size of the thread spool being utilized if your machine model has numerous sizes of spool caps available.
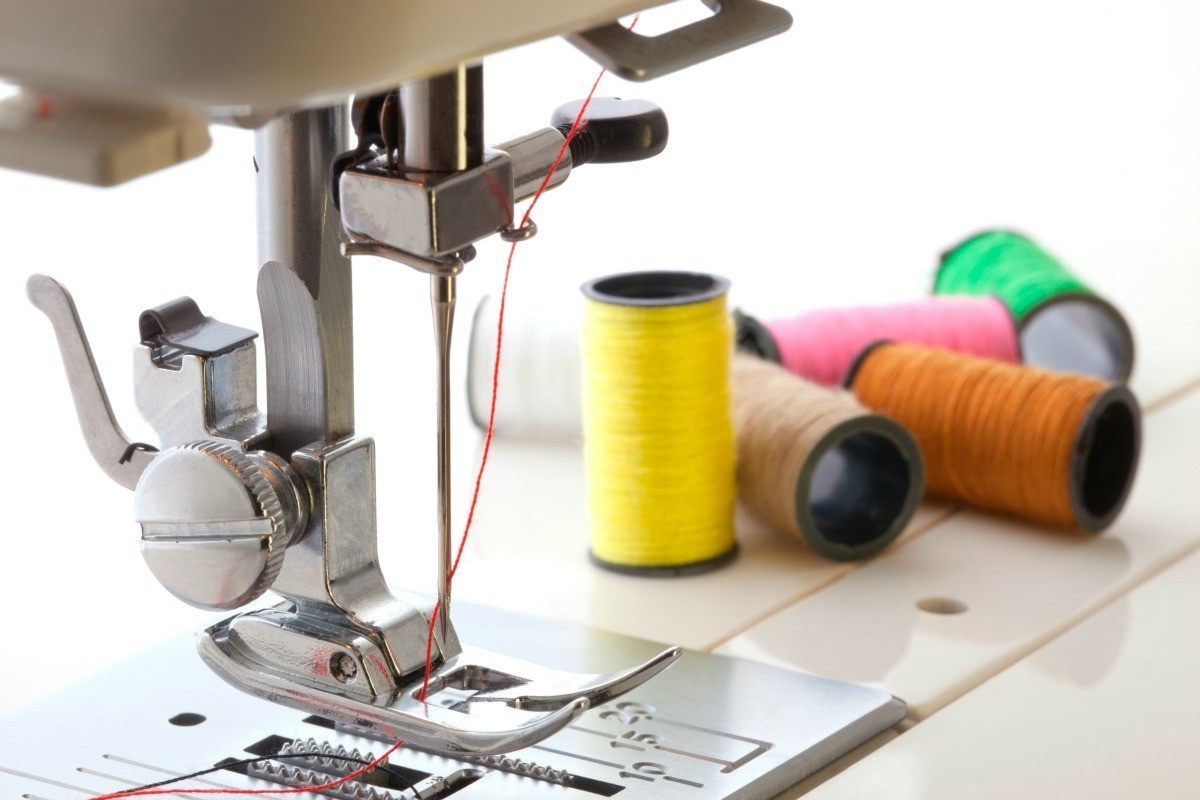
By unwinding 12 inches of thread and securely grasping it close to the thread spool, you may thread your new home sewing machine. The thread should then be wrapped around the spool pin’s left side, under the thread guide. - Verify that the needle you are using is the appropriate size and type for the fabric you are stitching. Your thread may rip or break if you use a needle that is the wrong size or style.
The needle assembly’s needle bar thread guide is where you should insert the thread. The needle bar thread guide is either a ring with a threaded opening or a bar with a slot.
By using a needle threader, thread the needle. However, the majority of older machines do not have a needle threader; a hand needle threader must be used to thread them. - Close the bobbin casing door after placing the bobbin into the case after opening the bobbin door. To drop the threaded needle into the bobbin case, move the handwheel on the machine’s right side forward.
Till the needle reaches its highest point, keep turning the wheel. It will raise the thread tip and remove it from the bobbin. Use your fingers to pull the tail up and out. - Slide the presser foot underneath the top and lower threads. Lower the presser foot lever after placing the fabric there. Push the foot pedal while holding both threads. Six stitches have been sewed; cut the threads.
Unplug your machine if it is electric before using it. Although you can still operate your equipment, it won’t outpace you.
Position the presser foot so that it is facing upward. Placing a thread spool on the spool holder. Look for a minimum of one thread guide as you move from the spool holder across the top of the machine.
Thread the needle into the thread guide. Find a tension mechanism now. Travel back upward with the thread by bringing it to the tension mechanism, slipping it between its metal discs, and then bringing it back down. Inspect the take-up mechanism.
When you turn the hand wheel, this portion of the machine’s front will rise and fall. Place the thread through the take-up lever. While other machines require you to thread the thread through a hole, some are designed so the thread will slide into this.
On the left side of the take-up lever, the thread will now descend. Any thread guides that lead to the sewing machine needle should be located and threaded. The needle of the sewing machine.
Turn the hand wheel while holding the thread in place with your left hand for optimal results. Keep an eye out for any flapping threads. If this occurs, you most likely failed to follow the thread guide.
Tips
- Any machine should always be completely cleaned and oiled before use.
- Always stitch slowly to check the threading of your machine. To try a straightforward straight seam, practice on scraps or samples.
- To reduce the amount of lint in the machine, use high-quality thread.
- Uneven stitching indicates that the tension has to be changed.
- Regularly replace the sewing machine needle.
- Focus on learning and mastering the speed and settings of your machine by starting with easy jobs.
Additional Hints for Checking Whether You Threaded Your New Home Sewing Machine Correctly
- Sew a test strip on a scrap of fabric to check the stitching.
- The tension can be adjusted by turning the top dial to the left; the higher the number, the less strain is placed on the stitch.
- Make sure the thread size and the needle size match.
- To aid grab and pulling the thread up from the bobbin casing, use a seam ripper or a pair of small scissors.
Basic Cleaning Instructions for New Home Sewing Machines
Have you ever considered the upkeep of your brand-new home sewing machine? Don’t worry about it! Your sewing machine needs very little upkeep, and it only takes a few minutes.
Don’t undervalue the significance of sewing machine maintenance, though. Yes, the procedure is simple and quick. A well-maintained machine will stitch better, run more smoothly, and save small problems from becoming serious ones.
You can increase the life of your sewing machine and complete any task at hand if you abide by these fundamental rules and the instructions in your sewing machine’s manual.
- The entire machine should be cleaned.
- Use compressed air if at all possible.
- After using your sewing machine, clean it.
- Change the needle often
- On your new domestic sewing machine with lubricant
- Whenever not in use, cover your device.
A good rule of thumb is to “clean it first” when you’re experiencing sewing machine issues because many problems are brought on by thread ends, lint, or dust buildup on the machine’s operating parts. Regular cleaning and maintenance can preserve your equipment in great form.
Conclusion
For sturdy and attractive stitches, your new home sewing machine must be properly threaded. You can make your sewing process more productive and efficient by adhering to these last recommendations.
While the machine is running, avoid lowering the threading lever because doing so could break the threading hook. I hope this article has helped you in learning the ways to thread your sewing machine.
You will surely benefit from all the information that has been provided to you here in this article.
Important: After connecting the thread to the thread guide on the needle bar, manually thread the needle if it cannot be threaded because of the type of thread used.

I love sewing, I am sewing for the last 15 years and started this blog with the help of my niece to spread sewing-related guides all over the world.
Sewing could be a full-time profession or hobby, and I wish to make a change by adding more people to the sewing world.